Here’s how to use Miis in the new Wii Sports replacement.

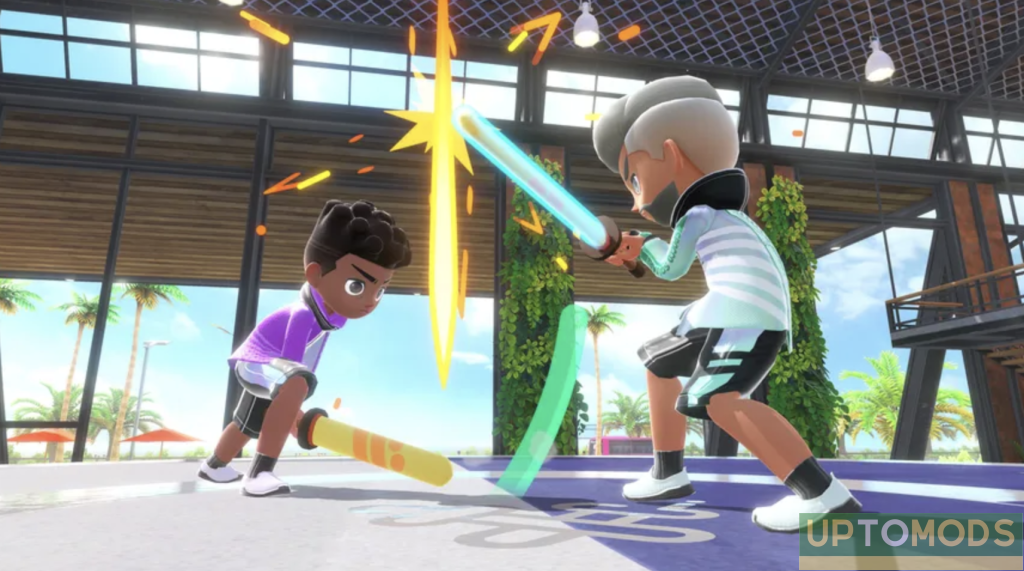
Miis were a standard feature of Wii Sports, but Nintendo Switch Sports introduces a new default avatar: Sportsmates. If you like your Miis, however, you may still make some to use in the new game. It’s tucked away inside the Switch’s system settings, so it might not be apparent if you’re searching for it.
Here’s a guide on how to use Mii characters in Nintendo Switch Sports.
How to Make New Miis on Switch
Miis may be created and edited on the Nintendo Switch with an app that comes built-in. It’s not, however, readily available from the system’s home menu, making it easy to overlook. Here’s how to get into and utilize the Mii editor on your Switch:
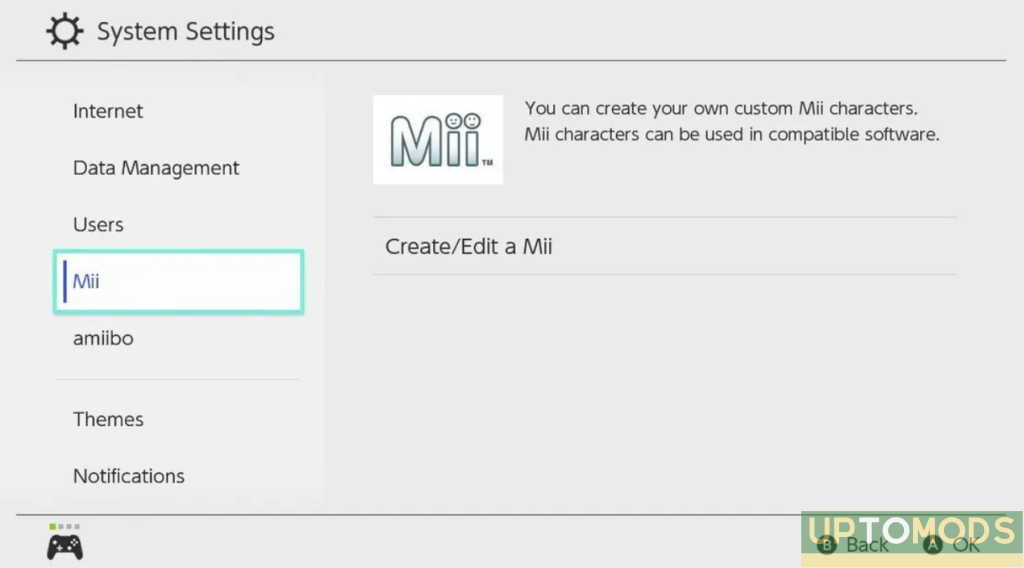
1. Select “System Settings” from the home screen
2. From the left sidebar, scroll down to “Mii.” Select it

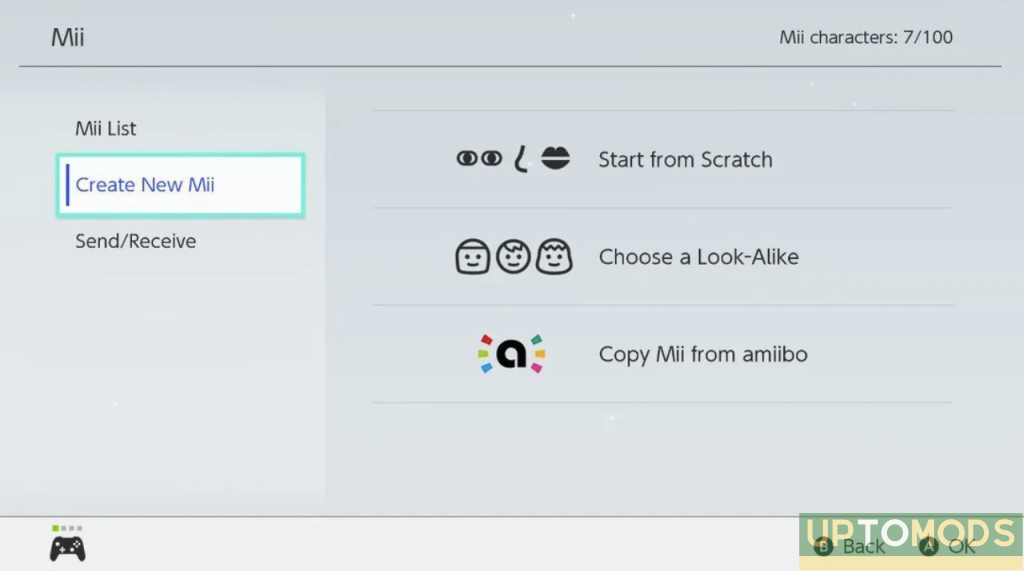
3. Choose “Create/Edit a Mii” and choose how you’d like to create a character

When it comes to making a Mii on Switch, you have three distinct alternatives. The first is “Start from Scratch,” which allows you to personalize your Mii from the ground up. The second choice, “Choose a Look-Alike,” provides a selection of pre-made Miis that you may use as a starting point and alter to your liking. Last but not least, you may also choose “Copy a Mii from Amiibo” (more on this below).
4. Choose “Done” to save your Mii.
After you’ve finished editing your Mii, hit the “Done” button at the bottom of the screen to save it to your system. You’ll be able to utilize it in any Switch game that supports Miis now.
How to Import Miis
You may also import Nintendo 3DS or Wii U Miis to your Switch, as well as create fresh ones from scratch. However, you must first save the Miis to an Amiibo figure before importing them to your Switch. The procedure for each system is outlined below:
Nintendo 3DS
Newer 3DS models, such as the New Nintendo 3DS and Nintendo 2DS XL, come with an internal NFC reader that allows them to interact immediately with Amiibo figures. Older versions of the system, on the other hand, require the NFC Reader/Writer accessory to connect with Amiibo.
1a. Tapping the “Home Menu Settings” symbol in the upper left corner of the touch screen will allow you to select “Amiibo Settings.” Select it.
2a. Select “Register Owner and Nickname”
When you open Amiibo Settings, you’ll be given the option to associate your Mii with an Amiibo, allowing you to access it on Switch. Select “Change Owner,” pick the Mii you want to send, and then hit “Save.”
Wii U
The built-in NFC reader on the Wii U GamePad controller, like with the newer Nintendo 3DS versions, allows it to connect directly with Amiibo figures without the need of a supplementary gadget. As on 3DS, adding a Mii to an Amiibo is simple:
1b. Select “System Settings” from the home screen, then scroll to the right and choose “Amiibo Settings.”
2b. Select “Register Owner and Nickname”
You’ll be able to use Amiibo on the Nintendo Switch, thankfully. The only difference between 3DS and Switch is that you’re now able to transfer your Mii characters among systems at any time as opposed to having to wait for an update. As before, you’ll be able to register a Mii as the “owner” of a figure from the Amiibo Settings menu, allowing you to bring that same Mii with you over to the Nintendo Switch. Select “Change Owner,” choose the Mii you’d like to move, and then tap “Save.”
3. Select “Copy Mii from Amiibo” from the Switch Mii menu.
After you’ve connected a Mii to an Amiibo figure, go to the Mii menu on your Nintendo Switch and choose “Copy Mii from Amiibo.” You may use this option to send any of your saved Mii characters to your Nintendo Switch.
4. Put the Amiibo on the Switch’s NFC reader.
If you’d like to transfer your Amiibo’s Mii, simply place your figure on the controller. Depending on the type of controller you have, the touchpoint will differ. Place the figure on top of the right Joy-Con’s control stick if using Joy-Cons. If you’re using a Switch Pro Controller, place it over the Nintendo Switch logo near the center.
Wait for the Mii to be copied on your controller until you see a message stating as much. You’ll then be able to find your Mii in the list under My Nintendo > Mii characters and use him in Nintendo Switch Sports and other compatible games.
On April 29th, the Nintendo Switch Sports were released with several free updates on the way in the coming months. In the summer, a new sport called Golf will be downloaded to the game, allowing players to play full Golf matches using their leg strap attachment.


Facebook comments